Studio Work
Projects
About Alonzo Davis
Event Calendar
Contact
Menu
Studio Work
Projects
About Alonzo Davis
Event Calendar
Contact
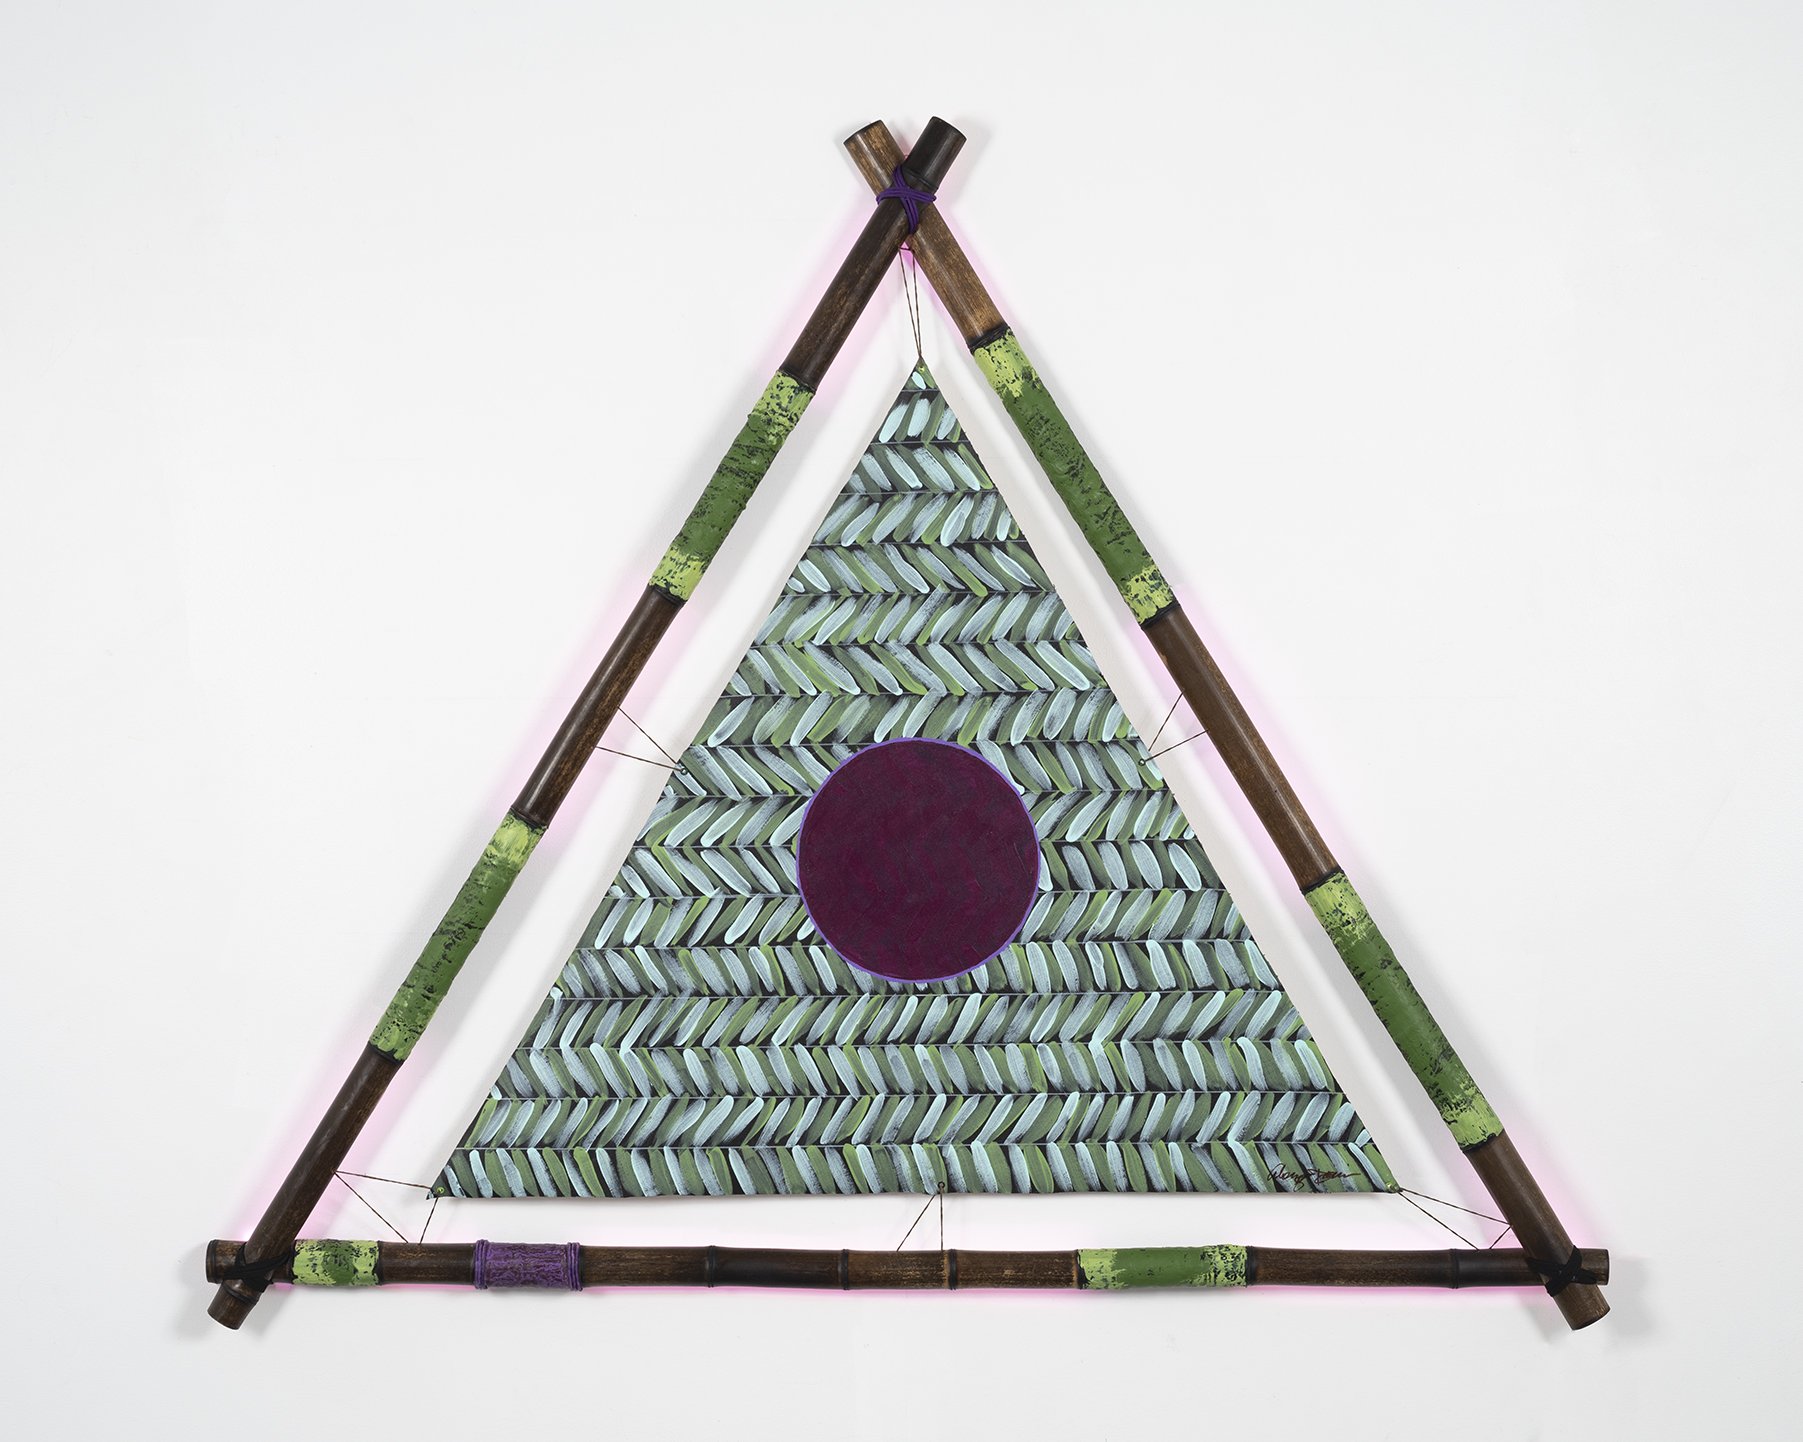
Suspended Pyramid Series
View fullsize
Suspended Pyramid #1
View fullsize
Suspended Pyramid #2
View fullsize
Suspended Pyramid #3
View fullsize
Suspended Pyramid #4
View fullsize
Suspended Pyramid #5
View fullsize
Suspended Pyramid #6
View fullsize
Suspended Pyramid #7
View fullsize
Suspended Pyramid #8